There are different types of clasps, and each clasp has a specific function and use. Clasps usually used for necklaces, bracelets, and keepsakes include spring clips, lobster clasps, toggle clasps, double-sided hooks, bar clasps, and magnetic clasps.
To make a jewelry clasp, you must first decide which type of clasp that you will use in your project. Different kinds of clasps can be made, such as the spring clip and lobster claw clasp.
How to Make Jewelry Clasps Out of a Baby Pin
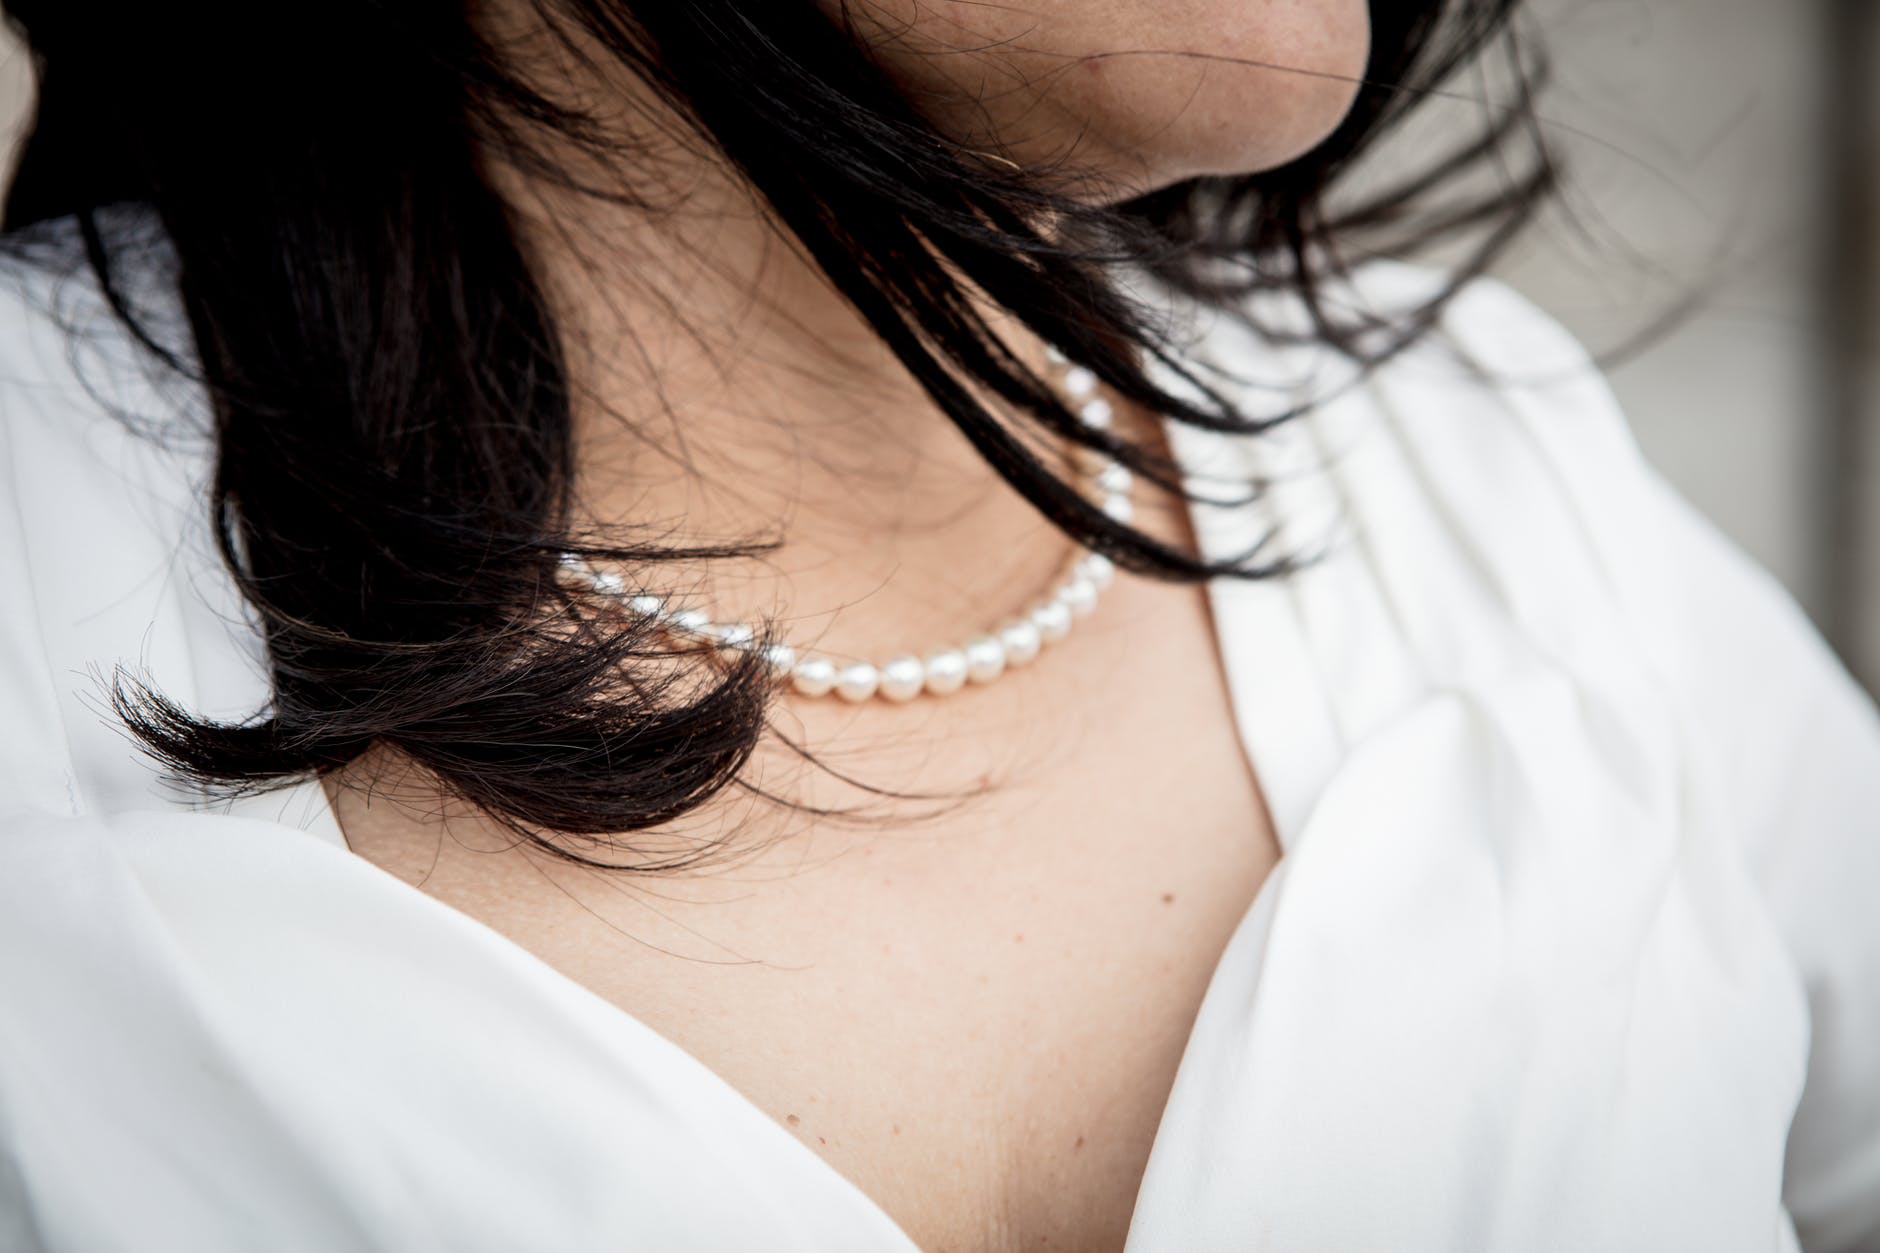
Jewelry clasps are devices used to secure a necklace, bracelet, or watch to the wearer’s personality.
For bracelets and necklaces, there are traditional hooks or hidden magnets invented in Ancient Egypt. Other forms include buttons (the golden age of Hollywood), snap-shut clasps, and magnetic clasps. There are many ways to attach a clasp, but attaching clips differs depending on the jewelry design.
For example, in designing necklaces with links or chains as opposed to bezel-set gems or other forms, it is essential that the hook or magnet be strong enough to hold even heavyweight and that the clasp rests comfortably on the neck. Likewise, in designing bracelets, it is necessary to coordinate the clasp with the piece’s overall design, especially when using single-strand methods. In this article, I will describe how to make a clasp out of baby safety pins.
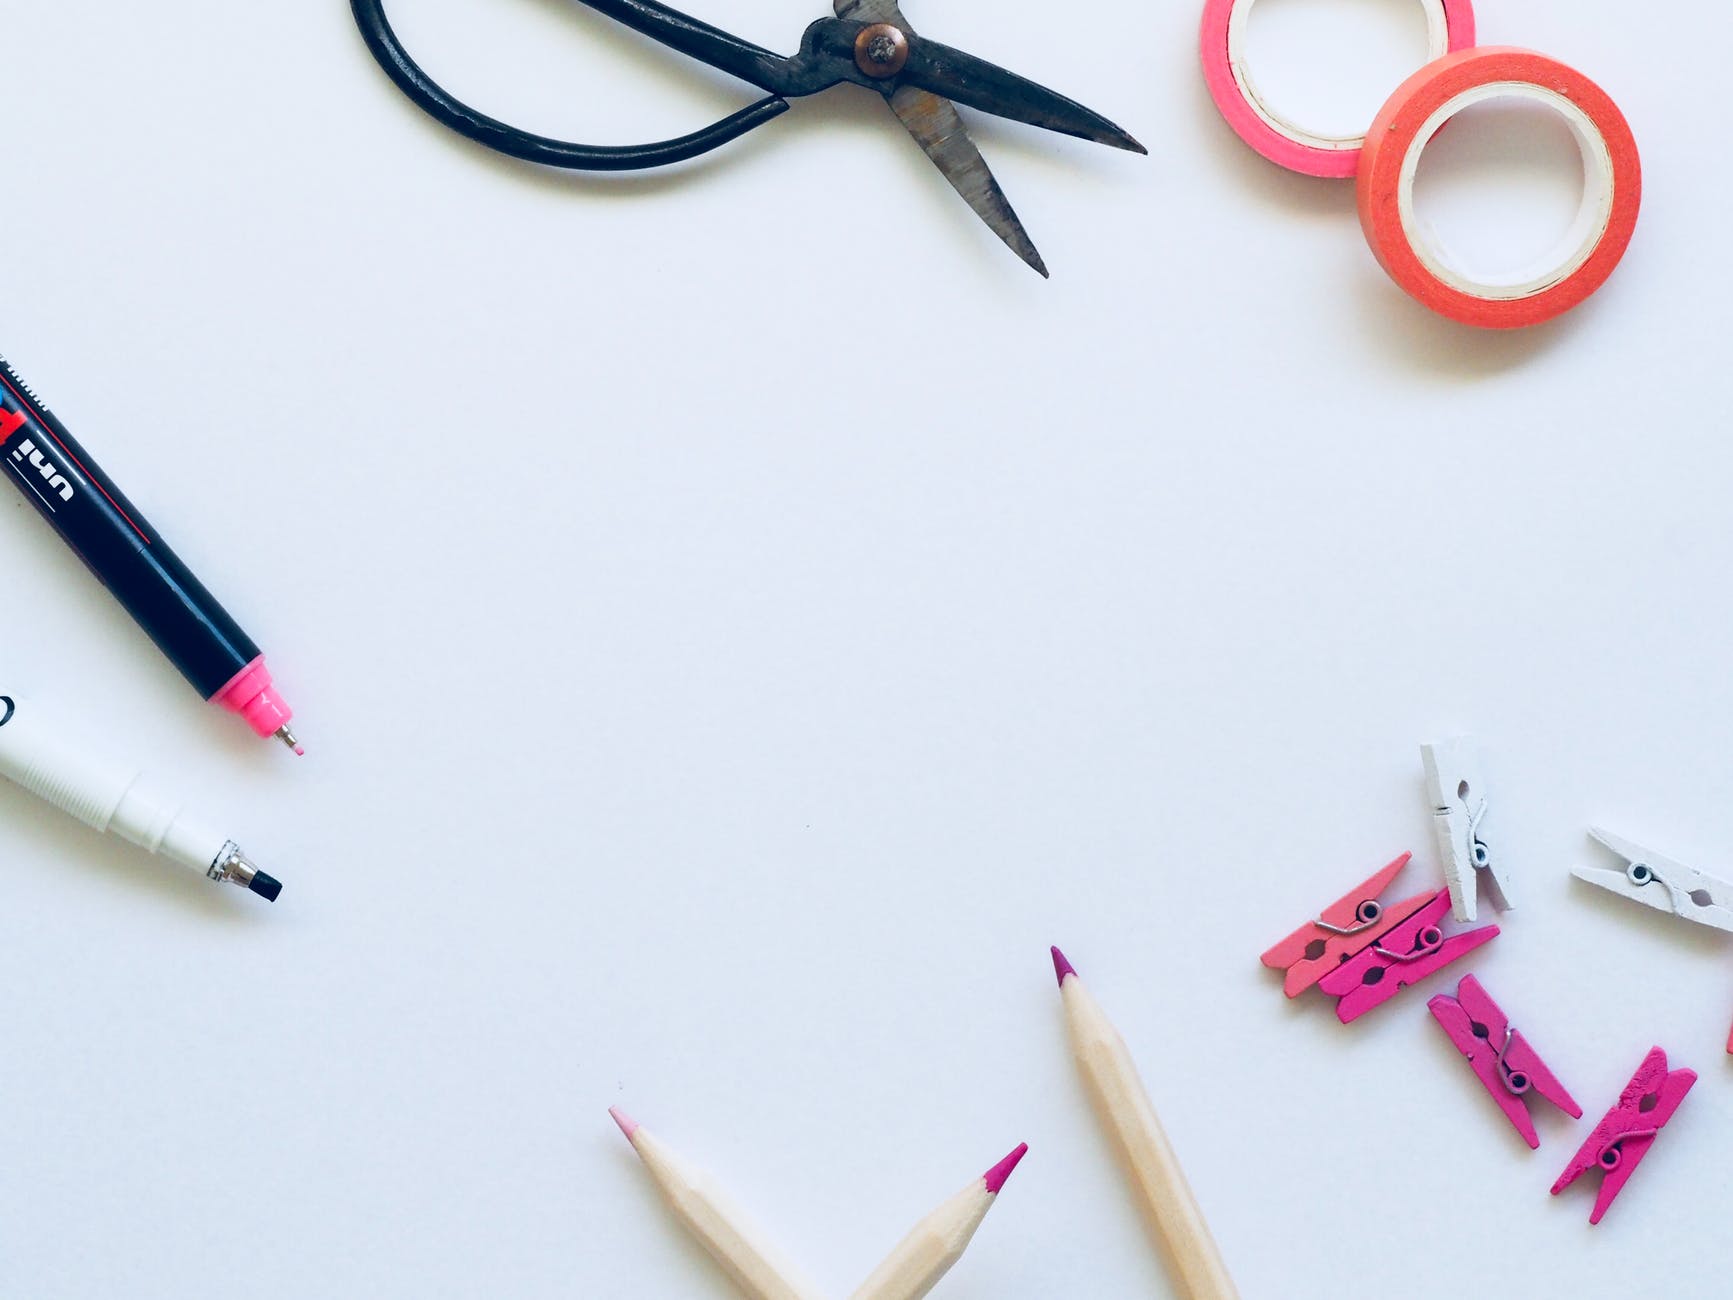
Step 1: Gather Materials
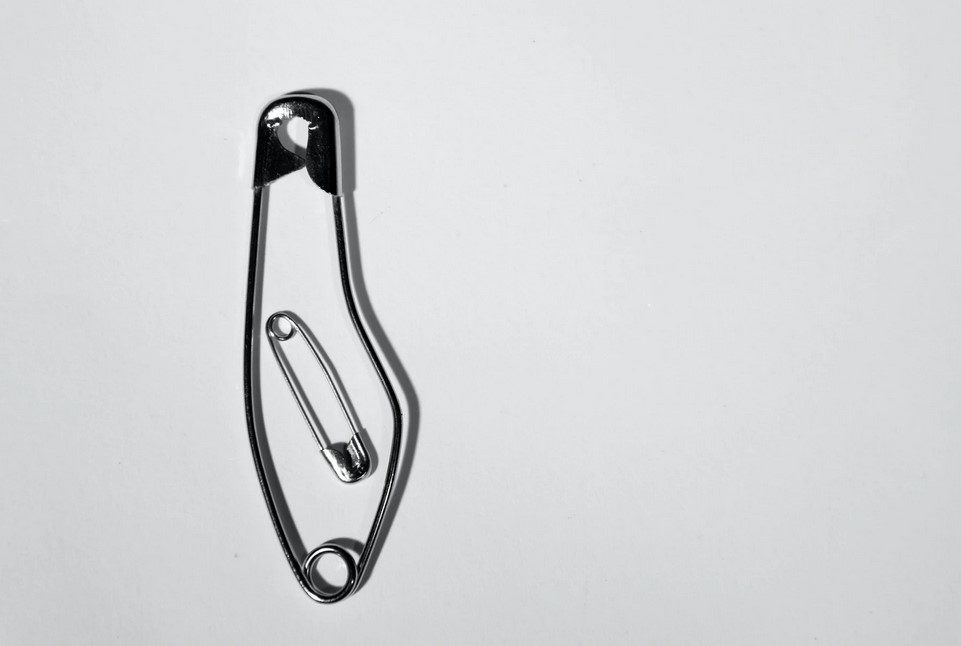
- 2 Baby safety pins
- 7 inches of rope or ribbon
- A good pair of scissors
Step 2: Prepare the safety pins.
Remove any excess glue and bend them in the shape shown in the photo below. The last bend should be at about a 90-degree angle. It would be best to use your thumb to make sure that it is bent as far back as possible without bending it too much.
Step 3: Repeat steps 1 & 2 for the other safety pin
To make an in-line toggle clasp, you must have two safety pins. This is because the idea of an in-line toggle is that one safety pin can rotate around the other without getting tangled or stuck. If only one safety pin is used, it will not turn as freely, so it will not function as a toggle clasp.
Step 4: Attach the safety pins.
With your pliers, attach both the safety pins together with the rope or ribbon in between them. The process for connecting two safety pins is very delicate since you don’t want to break either of them. In addition, you have to make sure that both safety pins are bent in the same direction so they can rotate freely around each other.
Step 5: Attach the clasp to your piece
You can now connect your clasp to a necklace after attaching the safety pins with your rope or ribbon. You can do it by weaving it through all of the links on your chain. If you connect it to a bracelet, find the end that fits perfectly into one of your bracelet links and attach the clasp there.
You have now successfully created a toggle clasp out of baby safety pins! Here’s another example of a toggle clasp made with rope and a baby safety pin.
You can even combine the in-line toggle clasp with other clasps like magnetic clasps or traditional hooks.
Step 6: Enjoy!
Now that you know how to make an in-line toggle clasp out of baby safety pins, why not try it out? I’d love to see pictures of the jewelry pieces that you make using this clasp.
It’s Simple and Easy!
This clasp is perfect for people looking to make a nice piece of jewelry with a limited budget. In addition, it is simple enough that kids can help out in making them as well!
So, remember—the next time you have an idea for your next piece of jewelry, consider using this toggle clasp! It can make all the difference in your work!