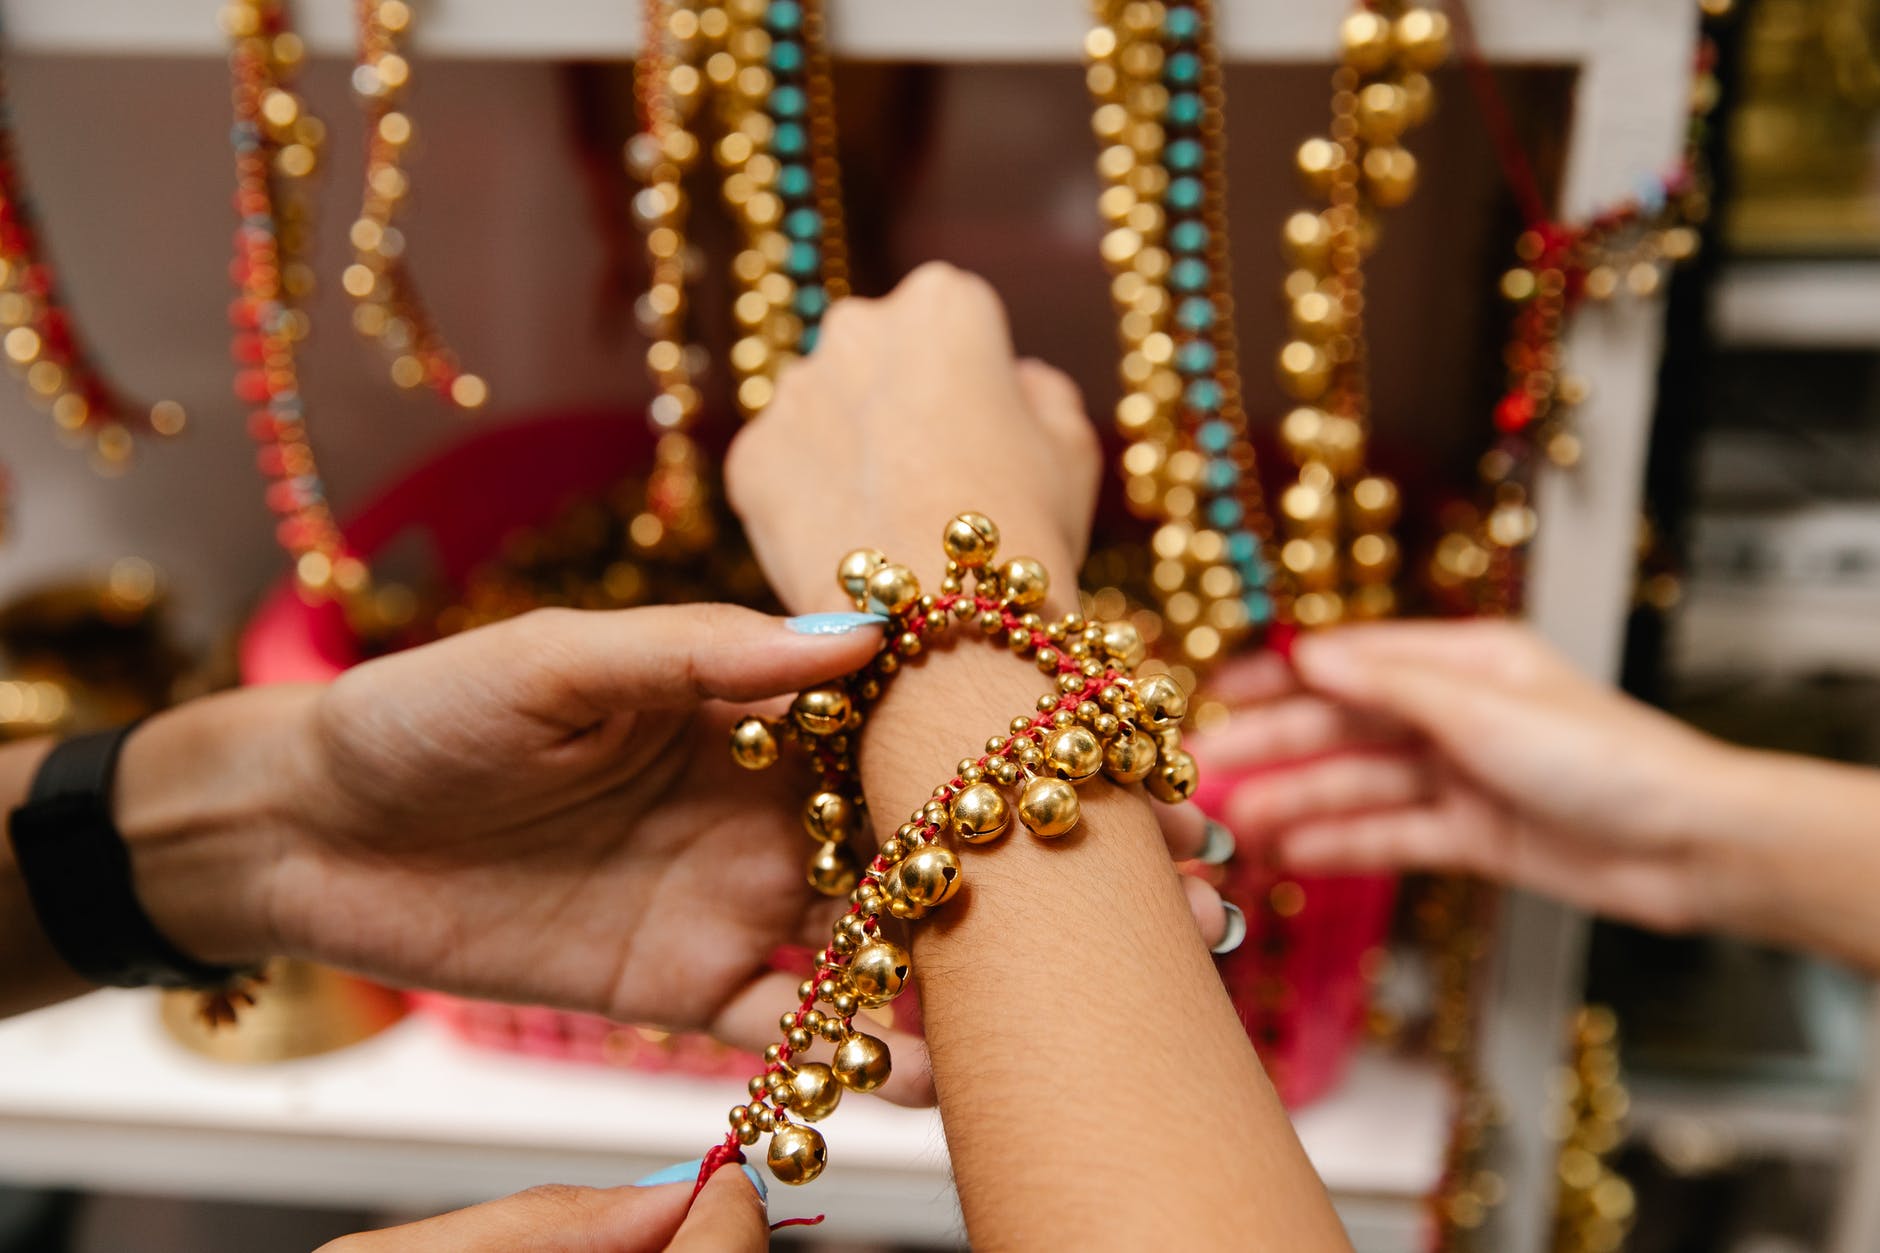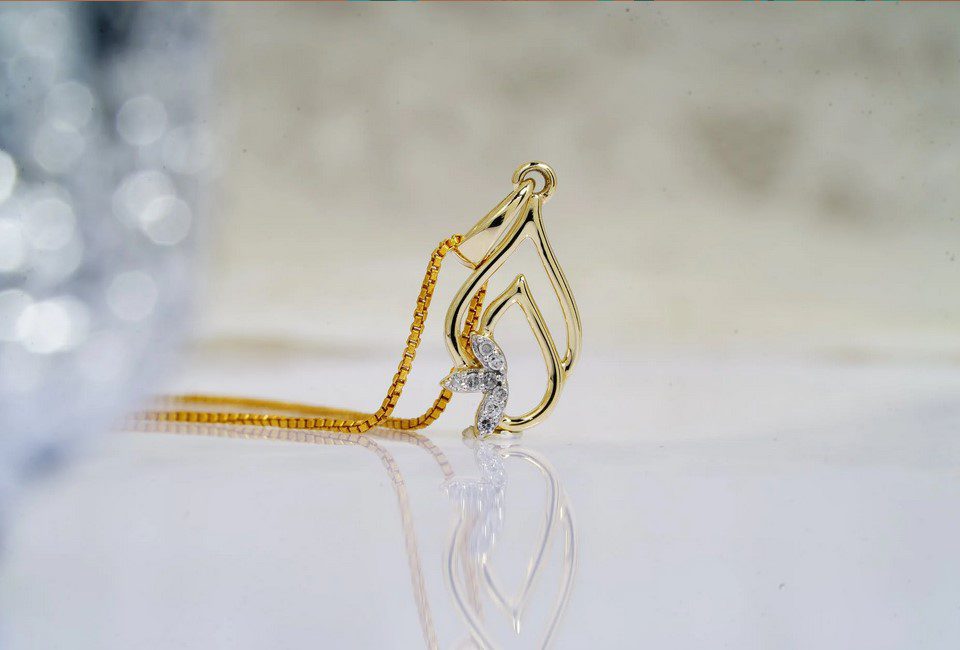
A clasp is a device used for fastening two ends of fabric or similar material together, usually consisting of two parts: one which connects to the end with a loop or ring (called the catch), and one which connects to the other end. The term “clasp” can also refer to a closing mechanism on clothing; this usage typically refers to buckles, buttons, or zip fasteners.
In jewelry-making, clasps are often focal points for design made from precious metals such as gold and silver. We call the clasps that connect with hooks jump rings; those that connect with loops are split rings.

Classifications of Clasps
Clasps come in many different shapes and sizes, but they all have the same function: to fasten two ends of the cord together.
Most clasps have a catch that we can use to the end of the cord; and an attachment that connects to the other end.
The catch can be simple, or it could look like a decorative part of the clasp itself for added appeal. Clasp catches are usually made in pairs or sets, one for each end of the cord.
How to Attach a Jewelry clasp to a cord
- After you’ve fitted the clasp onto the cord, take the ends of the cord. You can wrap them around each other in a figure-eight shape.
- Pull slowly but firmly so that the wraps are tight enough to secure the clasp without compressing it too much. Pull the ends of the cord down through the nearest loop on the clasp.
- Pull about an inch or so (depending upon your preference) of cord through and then pull it tightly, sealing off the knot.
- Select a simple overhand knot for attaching more oversized clasps to your cords. Make sure that you wrap each end underneath once before bringing them together to tie.
- Tighten by pulling on each end of the cord in opposite directions to cinch up your selection.
Other Methods
If you need something sturdier than a simple overhand knot, you can also use a lark’s head beadwork knot. To start this process, pass one end of your cord through the hole in your clasp and make two wraps around your other piece, as shown above.
Then bring the cord up through the hole in your clasp and pull snugly. Place a small drop of glue inside the loop to keep it secure. Now make an overhand loop using the other end of your cord, which should have its closure knot on it already.
Make sure that neither cord slips as you tie a simple overhand knot around them both. If any excess length remains after tightening the knot, you can trim this off by cutting it into one of your initial wraps with a pair of scissors or fingernail clippers.
Conclusion
As we can see, there are several different options for attaching clasps to the cord. Depending on your preference, time, and budget, you may want one option over another. However, keep in mind that the best option is to consult with an expert for your specific needs. This will help assure that your clasp can be attached safely and effectively.
A good jewelry maker or leatherworker should be able to easily attach a clasp to a cord for you, thus taking away the burden of trying to figure it out on your own. Good luck with your project!