If you are a person who likes jewelry making, then you should learn how to make charms for bracelets. The most common type of bracelet is the charm bracelet. People usually use these bracelets for special occasions such as birthday parties, anniversaries, and holidays. This article will teach you how to make charms for bracelets.
How To Make Charms For Bracelets?
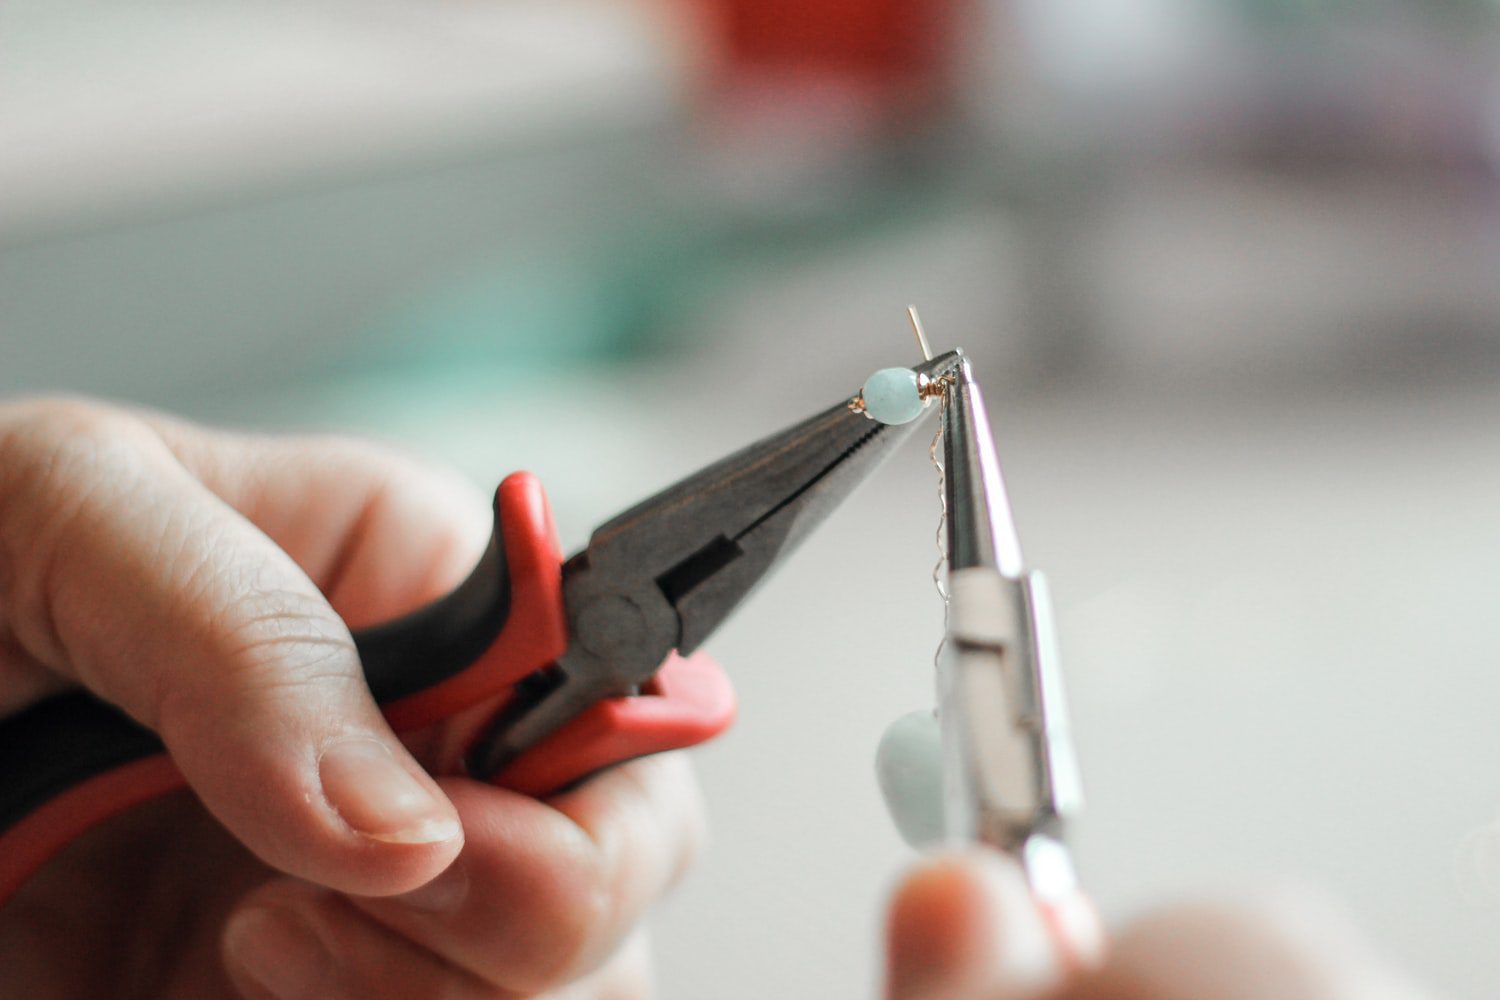
First of all, you will need to gather the things that you need. You will need small round nose pliers, wire cutters, bead release, and a small needle. Also, you will require some glue for attaching the beads and pliers. You can use the same bond that you use for your other projects.
After that, you need to assemble the items:
- Complete the wire cutters and the beads. Place the first one in your middle finger and the last one at the end of your fingers.
- Hold both firmly, with your palms facing away from you.
- Place a bead on every wire.
If you want, you can use a tiny clasp to hold the rest of them in place. However, if you don’t want to be so close to your body, you can leave it hanging.
Shape the Beads
After that, you need to start shaping the beads into different shapes. You can use your jewelry-making pliers to do this. First, begin shaping the beads into squares and then into circles. If you are using circular beads, you have to make sure that they are evenly spaced and evenly sized. After you are done with that, you can add the other shaped beads to the end of the strands.
Some things you might notice
While you are working on that last step, you should notice that your wrist is getting ready to bulge out. It is the natural result when you are wearing the bracelet. That is why you should take your time and make all of your strands perfectly aligned. It will prevent the bracelets from sticking out or crookedly. Once you finish that step, you can now continue with the next step in making charms for bracelets video tutorial: the clasp.
You can start by using a clasp made from thin wire. It is best to use one strong enough to keep your bracelet together yet still allows easy removal. The next step in making charms for bracelets video tutorial is to string the bracelet onto the ends. You can use any string – silk, metal wire, or braided.
Start Creating Yours Now!
Making bracelets is not just for kids anymore. You can do it too, and it indeed looks great on adults too. It all depends on what you choose to use for your bracelets and how you set them together. If you’re creative, you can develop some pretty awesome-looking bracelets that will make anyone who wears them smile.
Now that you know how to use these tools, you can make your bracelets, which won’t be expensive. They are very affordable, and they are trendy. So, if you want to have charm bracelets that are unique and won’t cost you an arm and a leg, you need to know how to make them yourself. That’s why I have included a link below to a how to make charm video tutorial that will show you exactly how to use these tools along with round-nose pliers.